

Explore the light of quality of automobile stamping parts
Release time:2024-04-01
In the wheel of modern industry, the automobile manufacturing industry has become an important yardstick to measure a country's manufacturing level with its sophisticated and complex processes and strict requirements on quality. In this many processes, the quality inspection of automobile stamping parts is like a bright light, illuminating the road of automobile safety and performance. Today, let's walk into the world of automotive stamping quality inspection and explore the methods that ensure the accuracy of each part.
First, we need to understand the visual inspection method. This is an ancient and intuitive method that relies on the human eye to observe the surface quality of a stamped part. Like an artist, the inspector's keen eye catches every tiny imperfection, such as cracks, scratches or deformations. However, this method, although direct, is limited by human subjective judgment and fatigue, so it is often used as a means of initial screening.
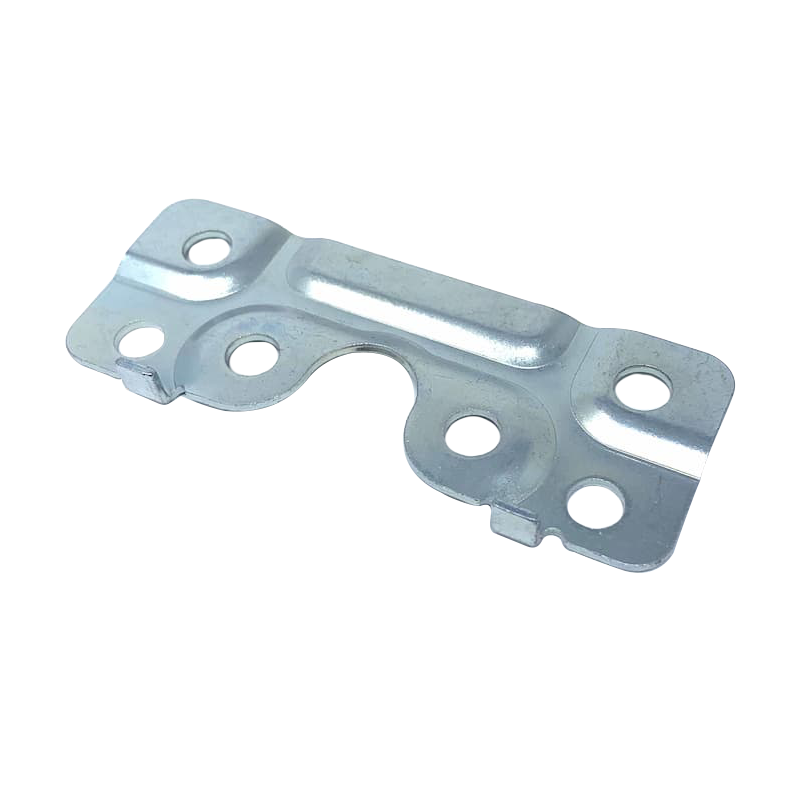
With the advancement of technology, automated inspection equipment has come onto the scene. These devices, like sophisticated musical instruments, are capable of inspecting stamped parts in all directions through a variety of sensors such as optical and acoustic. For example, optical scanning can quickly capture minute defects on the surface of the part, while acoustic inspection can detect hidden dangers in the internal structure. The introduction of these devices has greatly improved the efficiency and accuracy of inspection, making quality control more scientific and standardized.
Not only that, the application of computer-aided inspection (CAI) technology has added wings to the inspection work. Through advanced algorithms and big data analysis, computers are able to identify patterns and trends and predict potential quality problems from massive amounts of inspection data. The use of such technology not only enhances the depth and breadth of inspection, but also provides strong data support for continuous improvement of the production process.
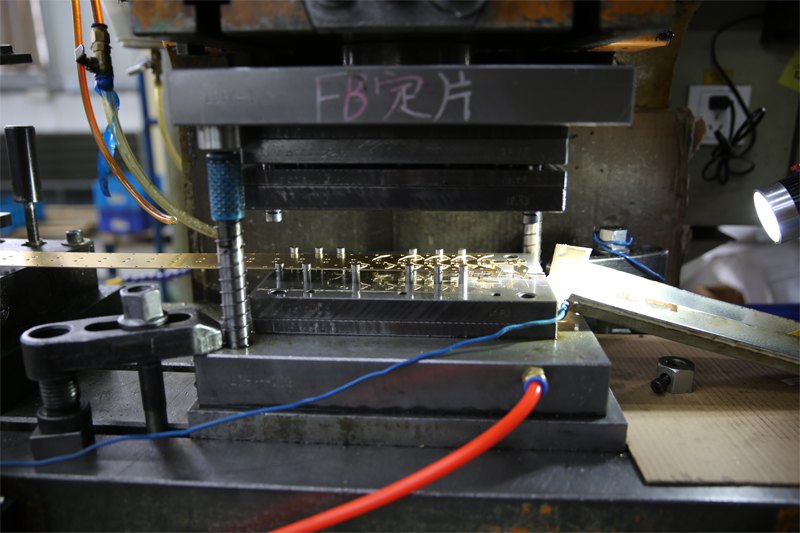
Of course, in addition to these high-tech tools, traditional physical measurement methods remain indispensable. With precision measuring tools such as micrometers and vernier calipers, engineers are able to accurately measure the dimensions and shapes of stamped parts to ensure they meet design specifications. These tools may be simple, but they are the foundation of quality assurance and the sword in every engineer's hand.
In this quest for perfection, each inspection method has its own unique value and importance. They complement each other to build a strong quality defense. As a senior automotive manufacturing engineer said, "Every inspection is a commitment to safety and performance, and every improvement is a respect for craftsmanship."
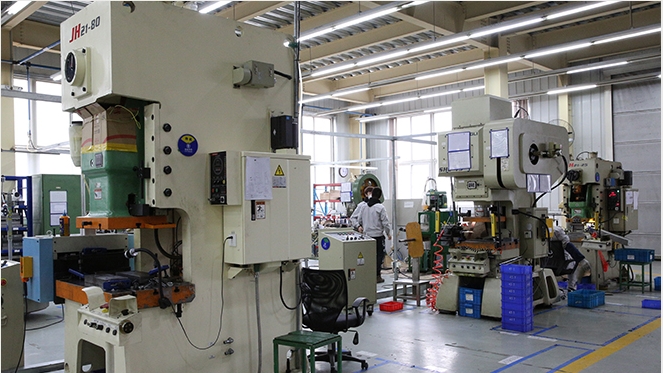
Eventually, when we see a car galloping on the road, we not only see the precise combination of one stamping part, but also the wisdom and sweat of countless engineers and technicians behind. The quality inspection of automobile stamping parts is not only a display of technology, but also a responsible adherence to life. In this fast-changing era, let us not forget the original intention and continue to move forward on the road of quality to bring more safe, reliable and excellent automobiles to the world.
First, we need to understand the visual inspection method. This is an ancient and intuitive method that relies on the human eye to observe the surface quality of a stamped part. Like an artist, the inspector's keen eye catches every tiny imperfection, such as cracks, scratches or deformations. However, this method, although direct, is limited by human subjective judgment and fatigue, so it is often used as a means of initial screening.

With the advancement of technology, automated inspection equipment has come onto the scene. These devices, like sophisticated musical instruments, are capable of inspecting stamped parts in all directions through a variety of sensors such as optical and acoustic. For example, optical scanning can quickly capture minute defects on the surface of the part, while acoustic inspection can detect hidden dangers in the internal structure. The introduction of these devices has greatly improved the efficiency and accuracy of inspection, making quality control more scientific and standardized.
Not only that, the application of computer-aided inspection (CAI) technology has added wings to the inspection work. Through advanced algorithms and big data analysis, computers are able to identify patterns and trends and predict potential quality problems from massive amounts of inspection data. The use of such technology not only enhances the depth and breadth of inspection, but also provides strong data support for continuous improvement of the production process.

Of course, in addition to these high-tech tools, traditional physical measurement methods remain indispensable. With precision measuring tools such as micrometers and vernier calipers, engineers are able to accurately measure the dimensions and shapes of stamped parts to ensure they meet design specifications. These tools may be simple, but they are the foundation of quality assurance and the sword in every engineer's hand.
In this quest for perfection, each inspection method has its own unique value and importance. They complement each other to build a strong quality defense. As a senior automotive manufacturing engineer said, "Every inspection is a commitment to safety and performance, and every improvement is a respect for craftsmanship."

Eventually, when we see a car galloping on the road, we not only see the precise combination of one stamping part, but also the wisdom and sweat of countless engineers and technicians behind. The quality inspection of automobile stamping parts is not only a display of technology, but also a responsible adherence to life. In this fast-changing era, let us not forget the original intention and continue to move forward on the road of quality to bring more safe, reliable and excellent automobiles to the world.
